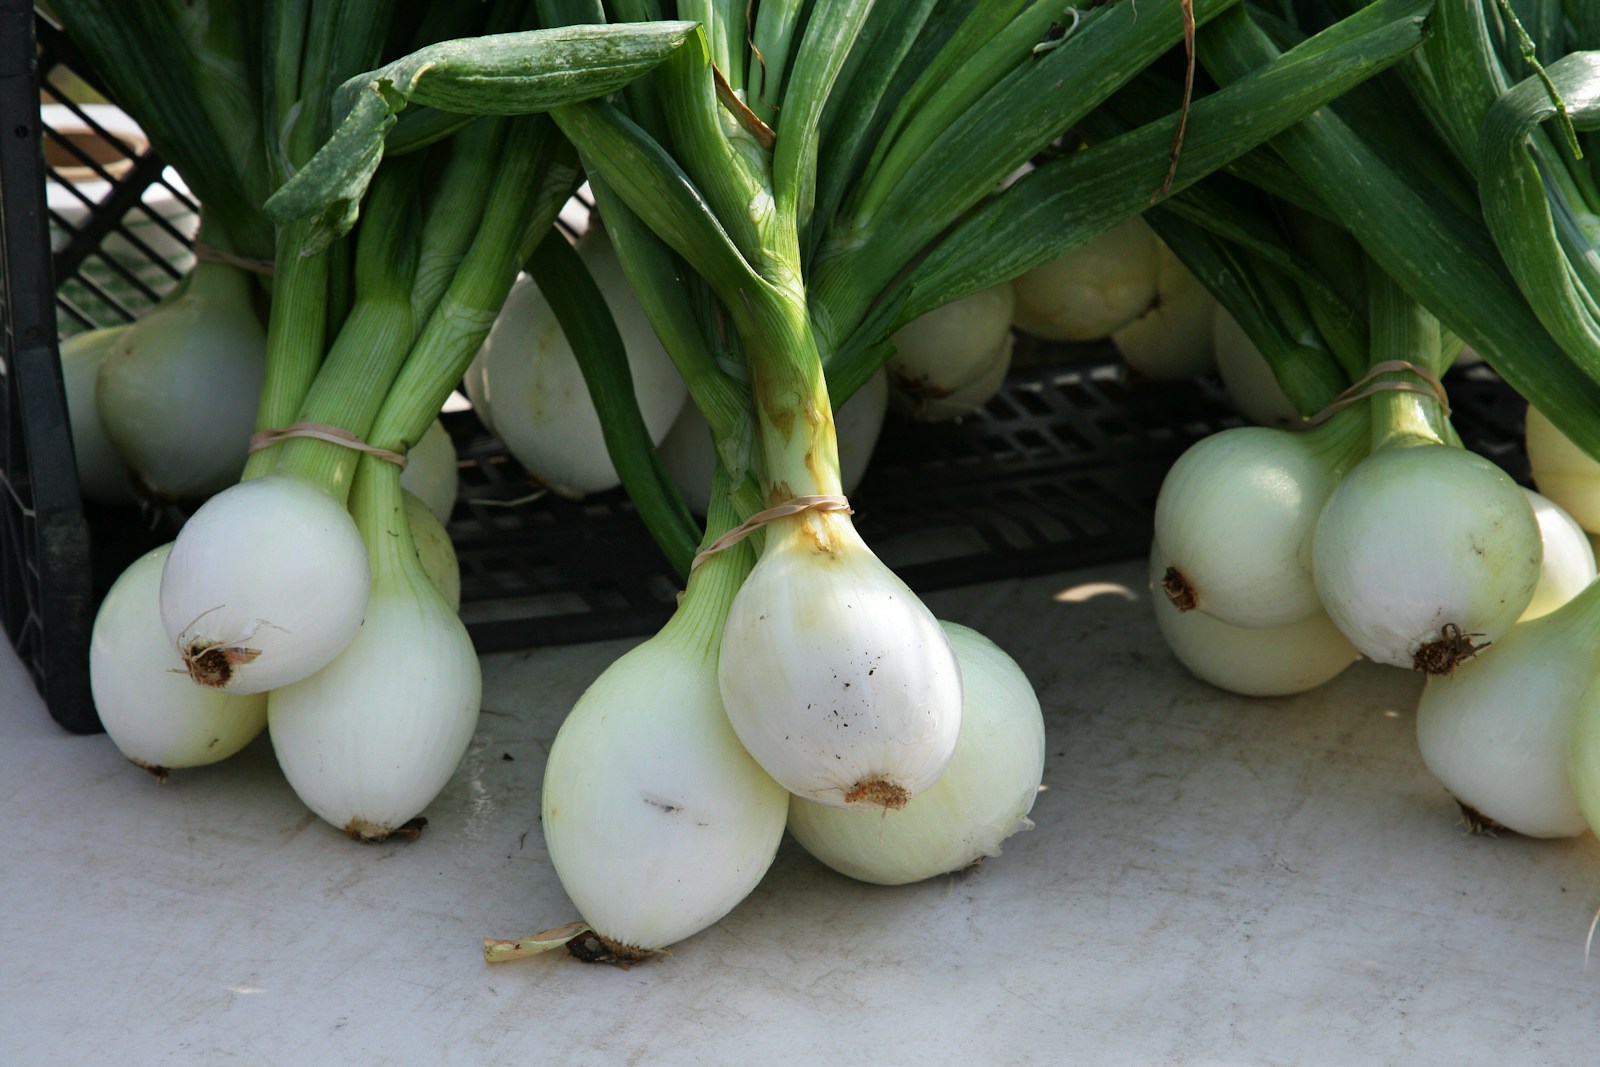
Shallots are close relatives of onions, but one planted bulb can divide into a small cluster. They have a mild, rich flavor and store well when they are cured correctly.
You can grow shallots from small bulbs called sets or start them from seed. Sets are faster and easier for most home gardens.
Shallots like full sun, loose soil, and good drainage. Wet ground is one of the fastest ways to lose bulbs to rot.
In mild climates, many gardeners plant in fall. In colder areas, plant as soon as the soil can be worked in late winter or early spring.
Give each bulb room to form a cluster. A little extra space also makes weeding and harvest easier.
Once the tops begin to yellow and fall over, the bulbs are close to harvest. Dry weather makes lifting and curing easier.
When to Plant Shallots
Planting time depends on winter weather. Fall planting works where winters are fairly mild. In colder areas, wait until the ground thaws and is workable.
The University of Minnesota Extension recommends well-drained soil rich in organic matter for onions and their close relatives, including shallots. It also notes that these shallow-rooted crops need steady moisture for good growth.
Cool-season timing is also useful for other root crops. This Alabama Grown guide to planting turnips shows how mild temperatures and workable soil shape planting windows.
How to Plant Shallot Sets
Choose firm bulbs with no soft spots or mold. Plant them point up in a sunny bed that drains well.
Space bulbs about 6 inches apart, with rows roughly 12 inches apart. Keep the tip near the soil surface rather than burying the bulb deeply.
If you need planting stock, a shallot set search can help you compare common varieties. Pick a type suited to your climate and planting season.
Starting Shallots From Seed
Seed takes longer, but it gives you more variety. Start indoors several weeks before outdoor planting time and keep the mix evenly moist under bright light.
If you are new to seed starting, our seed germination guide explains the basic role of moisture, warmth, and light.
Watering and Weeding
Shallots have shallow roots, so do not let the bed swing from soaked to bone dry. Water deeply when needed, then let excess water drain away.
Keep weeds down because they compete for water and nutrients. Hand weeding is safest around the bulbs because roots sit close to the surface.
A light mulch can slow weeds and help keep moisture steady. If you need a simple tool for close work, a small hand weeder is easier to control than a large hoe around shallow bulbs.
Common Problems
Poor drainage can cause rot. Onion-family pests and diseases can also build up when the same crop is planted in one place year after year.
Rotate shallots with unrelated crops when you can. Our natural pest control guide explains why rotation and regular plant checks are useful habits across the vegetable garden.
How to Harvest Shallots
Shallots are usually ready when the tops yellow and begin to fall. Loosen the soil with a fork and lift the whole cluster rather than pulling hard on the leaves.
You can use fresh bulbs right away. For storage, cure them first so the outer skins and necks dry well.
Cure and Store the Bulbs
Spread the bulbs in a dry place with good airflow. Once the skins feel papery and the necks are dry, separate the cluster and trim the tops.
Store cured shallots in mesh bags, crates, or shallow boxes in a cool, dry place. Check them now and then and remove any soft bulbs.
For another cool-season crop that fits well into the same garden calendar, see our guide to growing fava beans.
Simple Shallot Growing Plan
- Plant in fall where winters are mild or in early spring where winters are cold.
- Use full sun and well-drained soil.
- Space bulbs so each one has room to form a cluster.
- Keep moisture steady and weeds under control.
- Harvest when tops yellow and fall.
- Cure bulbs well before long storage.
Shallots do not need complicated care. Give them a sunny, well-drained bed, steady moisture, and enough time to mature, and one small bulb can turn into a useful cluster for the kitchen.