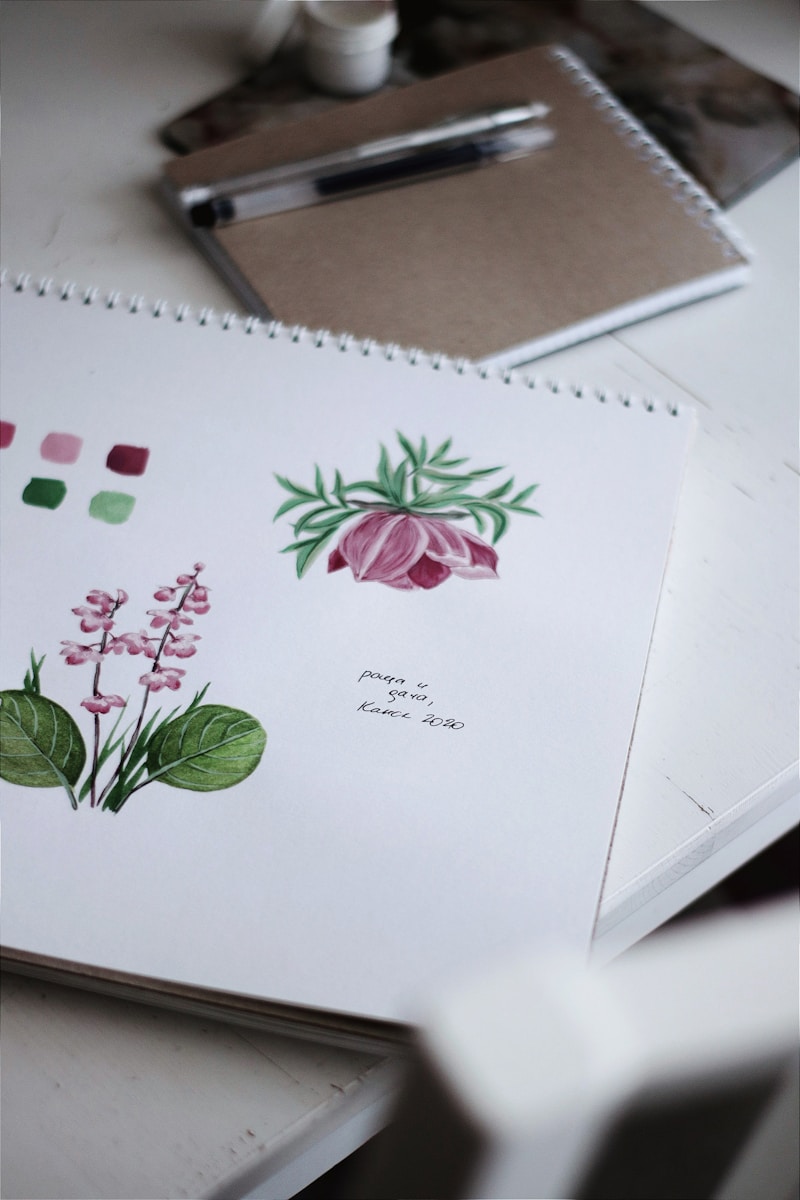
You do not need fancy software to plan a good garden. A pencil, paper, and a few clear measurements can take you a long way.
The goal is not to make a perfect art drawing. The goal is to make a simple map that helps you place paths, beds, plants, and useful spaces before you start digging.
Measure the Space First
Walk the edge of the garden and measure the main length and width. Mark the house, fence, shed, patio, driveway, and any large trees that will stay.
Put those fixed parts on graph paper. Pick a simple scale and use it all the way through the drawing. A scale keeps a wide path from becoming too narrow when you build it.
The Oklahoma State University Extension recommends drawing the site to scale, recording existing features, and noting conditions such as sun, wind, water, soil, and slope before choosing a final layout.
A long tape measure can make large yards easier to map. If you need one, you can compare 100-foot tape measures on Amazon.
Mark Sun, Shade, Water, and Slope
A garden plan needs more than shapes. It also needs the facts of the site. Mark the sunny spots, shady spots, wet areas, dry areas, and places where water runs after rain.
Note strong wind, steep slopes, and views you want to keep. These details help you put each use in the right place.
If your space is small, simple planning matters even more. Our guide to micro gardens shows how a tight area can still hold plants, paths, and useful living space.
Make a Short Wish List
Write down what the garden needs to do. You may want vegetables, flowers, a table, a play area, a compost bin, or a quiet chair in the shade.
Keep the list short at first. Put the most important uses at the top. A clear list makes the next sketch much easier.
Sketch the Main Zones
Draw loose circles or simple shapes for each use. One shape might be a sitting area. Another might be a vegetable bed. A third might be a screen of shrubs.
Do not worry about plant names yet. First decide where each part belongs and how people will move between them.
Tracing paper is useful here because you can test several layouts over the same base map. You can find tracing paper pads on Amazon if you want to make several versions without redrawing the yard.
Draw Paths and Hard Features
Next, draw the parts that are hard to move later. Add paths, patios, walls, fences, steps, raised beds, and storage areas.
Ask simple questions. Can you reach every bed? Can a wheelbarrow turn where it needs to? Is the route from the house to the garden direct?
A practical layout also makes an edible yard easier to use. Our edible landscape guide shows how food plants can fit into a yard without making the space feel like a separate farm plot.
Add Plants From Big to Small
Start with trees and large shrubs. Then add smaller shrubs, perennials, annuals, herbs, and groundcovers.
Draw plants at their mature width, not the size they are in the pot. This helps prevent crowding later.
Plant pages can help you compare mature spread, habit, and color before you draw the final circles. For example, the Cora Cascade XDR White vinca guide from Wright Gardens shows how size and growth habit affect where a plant fits in a design.
Think About the Whole Year
A garden changes by season. Leave room for spring growth, summer shade, fall cleanup, and winter access.
If vegetables are part of the plan, crop timing matters too. Our year-round vegetable garden guide can help you think about how beds change from one season to the next.
Review the Plan Before You Build
Stand in the yard with the drawing in your hand. Look from the door, patio, and main windows. Make sure the plan still makes sense in real space.
Check path widths. Check bed reach. Check mature plant sizes. Make sure water has a place to go and that important views stay open.
Then make one clean final copy. Keep the rough versions too. They can help if you change your mind later.
Use the Drawing as a Working Map
Your plan is a guide, not a rule carved in stone. A root, rock, drain, or slope may force a change once work begins.
Mark those changes on the paper. The updated drawing becomes a useful record of what you actually built.
Simple Garden Drawing Checklist
- Measure the yard.
- Draw fixed features to scale.
- Mark sun, shade, slope, and drainage.
- List the main uses you want.
- Sketch zones and paths.
- Add plants at mature size.
- Review the plan from the yard.
- Update the drawing as you build.
A hand-drawn garden plan does not need to look professional. It only needs to be clear enough to help you make better choices before the shovel hits the soil.