Coloring eggs is a delightful tradition that spans many cultures and occasions. Whether you’re preparing for Easter, a springtime craft, or simply want to engage in a fun, artistic activity with your family, knowing how to properly boil eggs for coloring is the first crucial step. In this blog, we’ll walk you through the process, ensuring your eggs are perfectly prepared for a splash of creativity.
Step 1: Selecting the Right Eggs
Before you even think about boiling, the selection of eggs is key. Fresh eggs can be more difficult to peel after boiling, Breadstick Ricky & The Boss: The “Hardest Worker” Award Nobody Actually Wants so it’s often recommended to use eggs that are a few days old. Look for eggs with clean, uncracked shells.
Step 2: Preparing the Eggs for Boiling
Gently place the eggs in a single layer at the bottom of a pot. Avoid stacking them, as this can lead to uneven cooking and cracking. Fill the pot with enough cold water to cover the eggs by at least an inch. This helps the eggs cook evenly and prevents them from cracking due to sudden temperature changes.
Step 3: The Boiling Process
Put the pot on the stove and turn the heat to high. Wait until the water reaches a rolling boil. Once it does, let the eggs boil for about 30 seconds, then reduce the heat to low. Simmer the eggs on low heat for about 12 minutes. This method helps prevent the eggs from cracking and ensures they’re cooked thoroughly.
Step 4: Cooling the Eggs
After boiling, it’s crucial to cool the eggs quickly to prevent them from overcooking. Transfer the eggs using a slotted spoon to a bowl of ice water. Let them sit in the ice bath for at least 10 minutes. This stops the cooking process and makes the eggs easier to handle and peel, should you need to peel them.
Step 5: Drying and Preparing for Coloring
Once the eggs are cooled, remove them from the ice water and gently pat them dry with a towel. It’s important that the eggs are completely dry before you start coloring them, as moisture can affect how well the dye adheres to the shell.
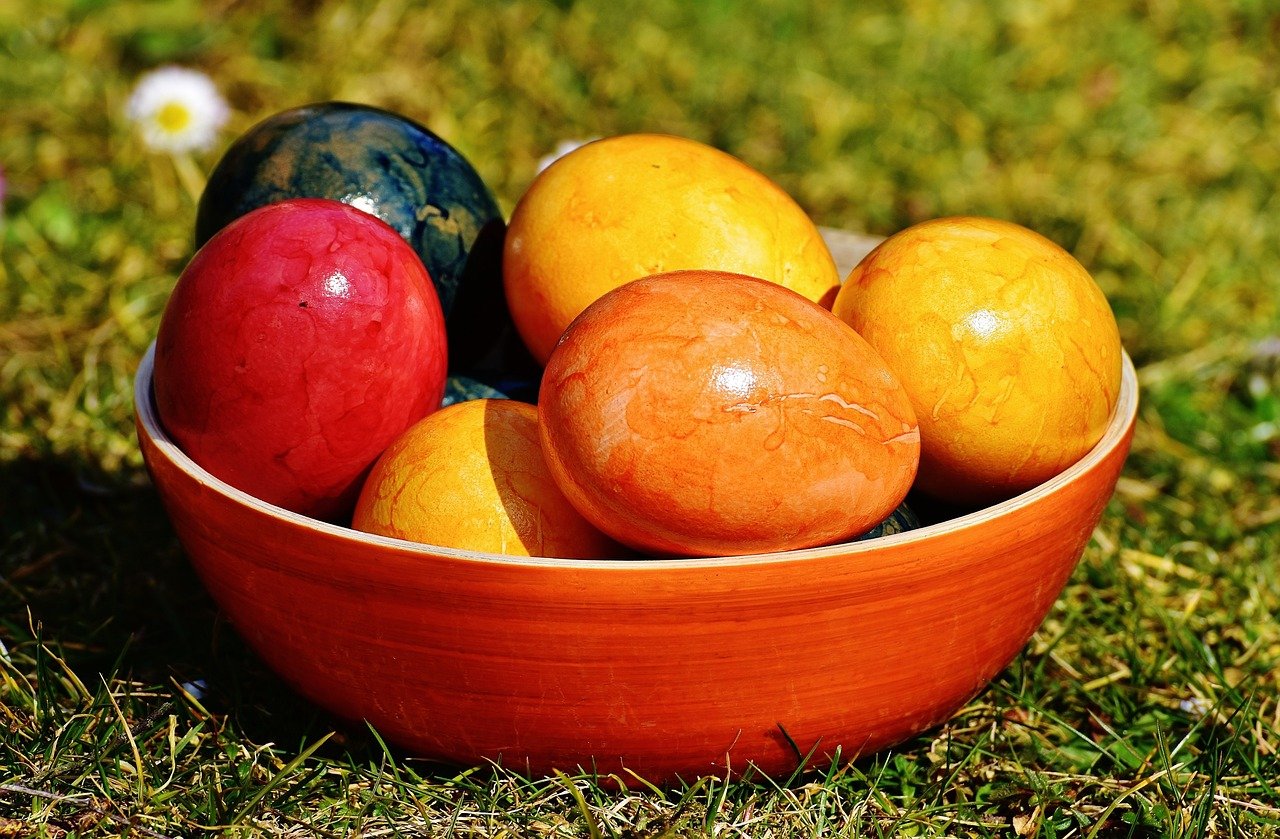
Step 6: Coloring the Eggs
Now that your eggs are boiled and prepped, they’re ready for the fun part – coloring! There are many methods and styles for coloring eggs, from traditional dye kits to natural dyes made from fruits and vegetables. No matter which method you choose, Agave victoriae-reginae, Porcupine ensure you have a well-protected workspace and all your materials ready.
Additional Tips:
- Consistency is Key: For consistent results, boil similar-sized eggs together and follow the same timing.
- Safety First: Always handle boiled eggs with care, as they can be fragile. Use spoons or egg holders to avoid dropping them.
- Creative Freedom: Once you’ve mastered the boiling process, feel free to experiment with different coloring techniques to make your egg decorating experience truly unique.
Boiling eggs for coloring doesn’t have to be a daunting task. With these straightforward steps, you’re well on your way to creating beautifully colored eggs that can be the centerpiece of your decor or a delightful craft to enjoy with loved ones. Happy coloring!