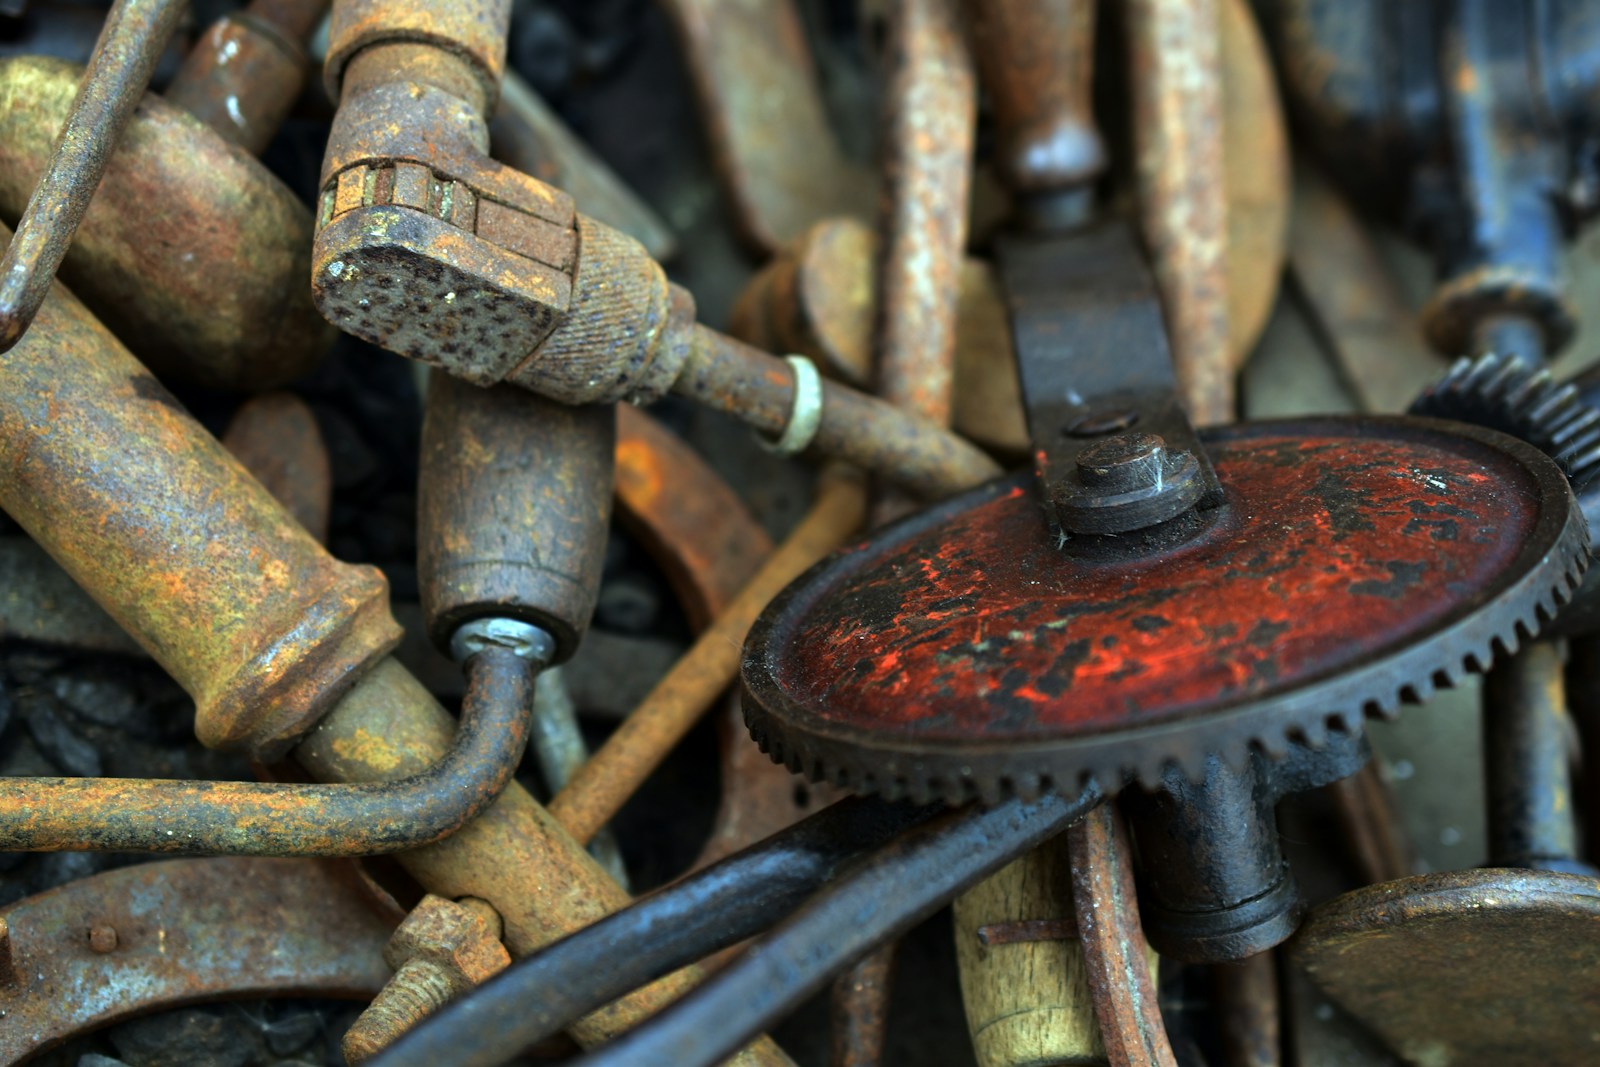
We all know the look. A brown film on a favorite wrench. A crusty spot on the garden shears. Rust sneaks up on us. It makes good tools feel old. It makes smooth jobs feel hard. The good news? We can fix it. In this guide, we’ll walk through clear, gentle steps to remove rust and keep it from coming back. The language is simple. The wins are real. And the methods work.
In other words, we’re going to bring your tools back to life. Then we’ll protect them so you keep that like-new feel. Let’s roll up our sleeves and start small, then build.
First Things First: Safety and Setup
Rust removal is simple. But we still use care.
- Work in a fresh-air space. A porch. A garage with the door open. Outside is even better.
- Use gloves and eye protection. Rust dust can irritate skin and eyes.
- Cover your area. A plastic tray, old towel, or cardboard works.
- Have clean rags ready. Cotton rags or shop towels are best.
- Keep water nearby. We’ll rinse some items. We’ll also need to mix pastes and baths.
That’s it. No drama. Just good habits so we move with ease Climate-Smart Gardening.
Quick Check: How Bad Is the Rust?
Look at the tool and sort it into one of three groups:
- Light film: A thin orange haze. No deep pits.
- Moderate spots: Orange or dark spots. Some rough feel. Small pits.
- Heavy scale: Thick rust build-up. Deep pits. Flaking.
This helps us pick a method that saves time. Instead of fighting the rust, we match it.
Step 1: Dry Clean the Tool
Before we use any liquid, remove loose stuff.
- Wipe off dirt with a dry rag.
- Use a nylon brush or brass brush to whisk away loose rust.
- For tight spots, use a toothbrush or a wooden skewer.
- Blow off dust or tap the tool on the mat.
This quick step makes every later step work better. It’s like clearing the path before you walk it.
Method A: Baking Soda Paste (Great for Light Rust)
Baking soda is safe and easy. It’s gentle on steel and finishes dirtiest cruise ships.
- Mix baking soda + water into a thick paste. Think peanut butter.
- Spread the paste on rusty areas.
- Let it sit for 30–60 minutes. Keep it damp.
- Scrub with a nylon or brass brush.
- Rinse with warm water. Dry fully (more on drying below).
- If needed, repeat once.
Why this works: baking soda is mildly abrasive and slightly alkaline. It loosens rust without harsh burn or strong fumes. Instead of tearing metal away, it lifts the rust gently.
Method B: White Vinegar Soak (Great for Light to Moderate Rust)
White vinegar is a champ. It’s strong enough to dissolve rust. It’s also cheap and easy to find.
- Pour white vinegar into a plastic container.
- Submerge the rusty part. If the tool has wood handles, only soak the metal.
- Soak for 1–12 hours depending on rust depth. Check every hour.
- Pull it out and scrub with a brush or fine steel wool (0000).
- Important: After the soak, rinse in water mixed with a little baking soda. This helps neutralize the acid.
- Rinse with plain water. Dry fully.
In other words, vinegar does the heavy lifting. You do the finishing touches. If the tool has plated parts or delicate markings, test a small spot first.
Method C: Lemon and Salt (Gentle and Smells Nice)
This is the kitchen combo many of us love.
- Sprinkle salt on the rusty patch.
- Squeeze lemon juice over the salt until it’s wet.
- Let it sit 2–3 hours.
- Scrub and wipe clean.
- Rinse and dry.
Salt grinds. Lemon loosens. Together, they break the orange film lifesaver cactus without harsh chemicals. It also works well on stainless steel items with light spots.
Method D: Citric Acid Bath (Fast and Effective)
Citric acid powder is common in canning aisles. It removes rust fast and leaves a clean surface.
- Mix 1–2 tablespoons citric acid in 1 quart warm water. Stir to dissolve.
- Submerge the metal.
- Soak 30–120 minutes. Check often.
- Scrub, rinse, and neutralize in mild baking soda water.
- Rinse again. Dry fully.
It works like vinegar but often faster. Keep an eye on the soak. Over-soaking can dull shiny finishes.
Method E: Manual Abrasion (Sandpaper, Steel Wool, Rust Erasers)
Sometimes, we just need elbow grease. This is perfect for flat surfaces, blades, and edges.
- Start with fine grit sandpaper (320–400). Go with the grain if visible.
- Move to extra-fine (600–1000) for a smooth finish.
- For light film, use 0000 steel wool or a rust eraser block.
- Wipe clean. Feel the surface. Repeat if needed.
But most of all, keep it light. The goal is to remove rust, not remove tool steel. Short, gentle strokes beat hard pressure every time.
Method F: Wire Wheel or Drill Brush (For Tough Scale)
If you have a bench grinder with a wire wheel, it can speed things up. A drill-mounted wire brush also works.
- Use light pressure. Let the wheel do the work.
- Keep the tool moving to avoid heat build-up.
- Wear eye protection and gloves.
- After brushing, wipe with a rag and oil.
This method shines on heavy scale and pitted heads. It’s not ideal for thin edges or fine blades Alt-Comedy Revival, because it can round them off if you stay in one spot.
Method G: Electrolysis (For Heavily Rusted Classics)
Electrolysis sounds fancy. It’s not. It uses water, washing soda, and low-voltage DC power to lift rust off.
- Mix water + washing soda (sodium carbonate) in a plastic tub.
- Clip the negative lead to the rusty tool.
- Clip the positive lead to a sacrificial steel plate.
- Keep the clips out of the water.
- Turn on the power source and let it work for several hours.
- Scrub, rinse, and dry.
It’s gentle on base metal and great for complex shapes. If you use this method, follow safe practices with power, and work in open air.
Method H: Commercial Rust Removers (When You Want Simple)
There are store-bought liquids and gels made for rust. Many are water-based and easy to use.
- Brush or soak as directed.
- Let the chemical work.
- Rinse and dry.
- Oil the clean metal.
These products can be fast and low-odor. The gel types cling well to vertical surfaces like shovel blades or plane bodies.
After the Rust: Clean, Neutralize, Dry
No matter which method you pick, the last steps matter most.
- Rinse well. Remove all residue.
- Neutralize acids. If you used vinegar or citric acid, dunk in mild baking soda water.
- Rinse again. Fresh water clears the baking soda.
- Dry to the core.
- Wipe with a clean towel.
- Warm the tool gently with a hair dryer or set it in the sun.
- For tight joints, run a little heat so water flashes off.
- Oil at once. Bare steel flashes with rust fast. Wipe on a thin film of oil.
Instead of waiting, do these steps right away. You’ll lock in your work and keep the clean look puerto rico foods.
The Right Oils and Waxes
Oil creates a thin shield. Wax adds a dry feel. Use one or both.
- Light machine oil or mineral oil: General use and hinges.
- Camellia oil or food-safe mineral oil: Good for kitchen or garden blades.
- Paste wax or furniture wax: Great on plane soles, saw plates, and wrench faces. It leaves a slick, dry shield.
- Dry film protectants: Useful when you want no oily feel.
Apply a small amount to a cloth. Wipe the metal until it shines. Then wipe again with a dry corner so it’s not sticky.
Garden Tools: Special Care for Soil and Sap
Shovels, hoes, pruners, and trowels work in wet, gritty places. They rust fast if we skip cleanup.
- After use: Knock off soil. Wipe with a dry rag.
- Sap removal: Use rubbing alcohol on a cloth. It breaks down resin.
- Sharpen edges: A mill file or sharpening stone keeps a crisp edge.
- Rust removal: Use vinegar or a wire brush for shovels and hoes. For pruners, use baking soda paste or a rust eraser to protect the joint.
- Protect: Wipe with light oil. On shovels, a quick coat of paste wax keeps soil from sticking.
A simple habit helps: clean as you put tools away. In other words, the last minute today saves ten tomorrow.
Hand Planes, Chisels, and Saws: Keep the Edges True
Fine tools deserve gentle care.
- Rust on blades: Use 0000 steel wool with a dab of oil.
- Sole of a plane: Sand lightly on a flat surface with fine grit. Then wax.
- Saw plates: Use a rust eraser or fine abrasive pad. Wipe and wax.
- Chisel backs: Keep them flat. Use wet-dry paper on glass with light strokes.
Avoid heavy grinding on thin edges. Heat can ruin the temper. Sharp tools are safer and cleaner. A little time here pays off in smooth cuts and easy work.
Hinges, Pivots, and Springs: Don’t Forget the Joints
Rust hides in joints. That’s where tools fail first.
- Open and close the tool while cleaning.
- Use a small brush to work paste or cleaner into seams.
- After rinsing, flush the joint with a few drops of oil.
- Work the action to spread the oil.
- Wipe off extra.
This keeps pruners snappy, pliers smooth, and folding knives safe.
Storage That Stops Rust Before It Starts
A clean tool still needs a safe home. Moisture is the enemy. We fight it in simple ways.
- Dry zone: Store tools in a spot with airflow. Avoid wet floors.
- Hang it: Pegboard or wall racks keep metal off damp surfaces.
- Tool rolls or sleeves: Canvas or leather protects edges.
- Silica gel packs: Toss a few in drawers or boxes. Replace or dry them out now and then.
- Vapor corrosion inhibitors (VCI): Papers or tabs that slow rust in closed boxes.
- Seasonal checks: Wipe tools with a thin oil film before long storage.
We can’t stop humidity outside. But we can lower its bite in our tool space. Small steps. Big gains.
A Fast Post-Use Routine (2 Minutes, Tops)
Consistency wins.
- Wipe off dirt and moisture.
- Quick pass with a brush on any orange spots.
- Tiny drop of oil on working faces and joints.
- Back on the rack.
That’s the whole routine. It’s simple. It’s fast. And it saves you from the “weekend rust rescue” later.
What Not to Do
A few cautions help us avoid pain.
- Don’t mix chemicals. Especially acids, bleach, or ammonia. Keep methods simple and separate.
- Don’t over-grind. High heat can soften edges or remove too much metal.
- Don’t leave acid soaks unchecked. Set a timer and peek often.
- Don’t store tools wet. Dry first. Oil second. Store last.
- Don’t skip PPE. Eyes and skin matter more than speed.
When in doubt, slower is safer. Gentle beats harsh. You’ll still get that mirror shine.
Troubleshooting: Common Rust Problems and Fixes
Problem: Sticky orange film keeps coming back.
Fix: Increase drying time. Warm the tool after rinsing. Apply a better oil film or add paste wax.
Problem: Black stain after acid soak.
Fix: That’s normal conversion. Scrub lightly with steel wool, rinse, neutralize, and oil. It will even out.
Problem: Pits remain after rust is gone.
Fix: Pits are missing metal. Smooth the edges with fine paper. Fill with oil and accept the scar. The tool will still work great.
Problem: Wooden handle got wet.
Fix: Dry slowly in moving air. Sand lightly if fibers lift. Rub in a little boiled linseed oil or paste wax.
Problem: Threads feel rough after cleanup.
Fix: Brush with a wire brush and add a drop of oil. Run the nut back and forth to burnish the threads.
Problem: Flash rust right after rinsing.
Fix: Go straight to heat and oil. Even a hair dryer helps. The first minutes matter most.
Sharpening After Rust Removal
Rust dulls edges. A quick sharpen brings back bite.
- Files and hoes: Use a mill file. Hold a steady angle. Light strokes.
- Knives and pruners: Use a fine stone. Work one side until you feel a burr. Flip. Light passes.
- Chisels and plane irons: Use a progression of grits. Keep the angle steady.
- Finish: Strop on leather or cardboard with compound for a keen edge.
Sharp tools glide. They also resist rust better because they need less force and stay cleaner in use.
Caring for Specialty Finishes
Some tools have a protective finish or plating. Treat them kindly.
- Black oxide: Gentle abrasives and oil. Wax to seal.
- Zinc or chrome plating: Avoid harsh acids. Use baking soda paste or mild abrasion first.
- Painted surfaces: Mask edges with tape. Clean the bare metal only.
Instead of stripping everything, save what protects you. Less work later.
Quick Wins for Busy Days
If you only have a few minutes, try one of these:
- The rag and oil pass: One minute. Wipe metal with a lightly oiled rag as you put tools away.
- Spot erase: Keep a rust eraser at your bench. Rub orange spots the moment you see them.
- Wax the touch points: Paste wax on plane soles, saw plates, and shovel faces once a month.
- Dry bin by the door: A simple crate to toss tools for air-drying before they hit the drawer.
Small habits stack. Your tools will show it.
Light, Moderate, or Heavy: A Simple Decision Tree
- Light film? Baking soda paste → wipe → oil.
- Moderate spots? Vinegar or citric acid → scrub → neutralize → dry → oil.
- Heavy scale? Wire brush or electrolysis → rinse → dry → oil → consider a protectant wax.
In other words, we match the problem to the least aggressive fix. We keep the tool’s shape and temper intact.
Long-Term Rust Prevention: Make It a System
Let’s make rust control part of your shop system.
- Clean station: A small shelf with brushes, rags, baking soda, and oil.
- Dry zone: A rack or pegboard in a spot with good air.
- Protection: A jar of paste wax and a box of silica gel packs.
- Check day: Once a month, take ten minutes. Quick scan. Spot fix. Light oil.
- End-of-season wrap: Before winter or a long break, do a deeper wipe and wax.
When we build a system, we don’t have to think hard. We just follow the path and win.
Your Tools, Your Story
Tools carry our work. They also carry our history. A scuffed hammer. A well-used spade. A plane that once sat in a grandparent’s shop. Removing rust is not only about looks. It’s about care. It’s about respect. It’s about giving good steel another chapter.
And we do it with simple steps. Gentle cleaners. Light hands. Good drying. Thin oil. Safe storage. That’s the whole rhythm. That’s how we keep work smooth and joyful.
Bright Steel, Happy Hands
We’ve covered a lot. But each part is small. Pick one rusty tool today. Choose a method that fits the job. Clean it. Dry it. Oil it. Then hold it in your hand and smile. It feels ready, because it is.
Most of all, keep it easy. Keep it kind. Keep it regular. We’ll beat rust every time.
Copper-Clear Finish: Let’s Keep It That Way
We walked through safe steps. We matched methods to the mess. We learned how to rinse, neutralize, and dry. We locked in protection with oil and wax. Instead of fighting rust later, we built habits that stop it early. After more than a few tools, this becomes second nature. We move faster. We stay calm. Our gear lasts.
So let’s make a promise to our future selves. Clean today. Protect today. Store with care. Then enjoy every smooth cut, turn, and slice tomorrow. Rust does not get the last word. We do.