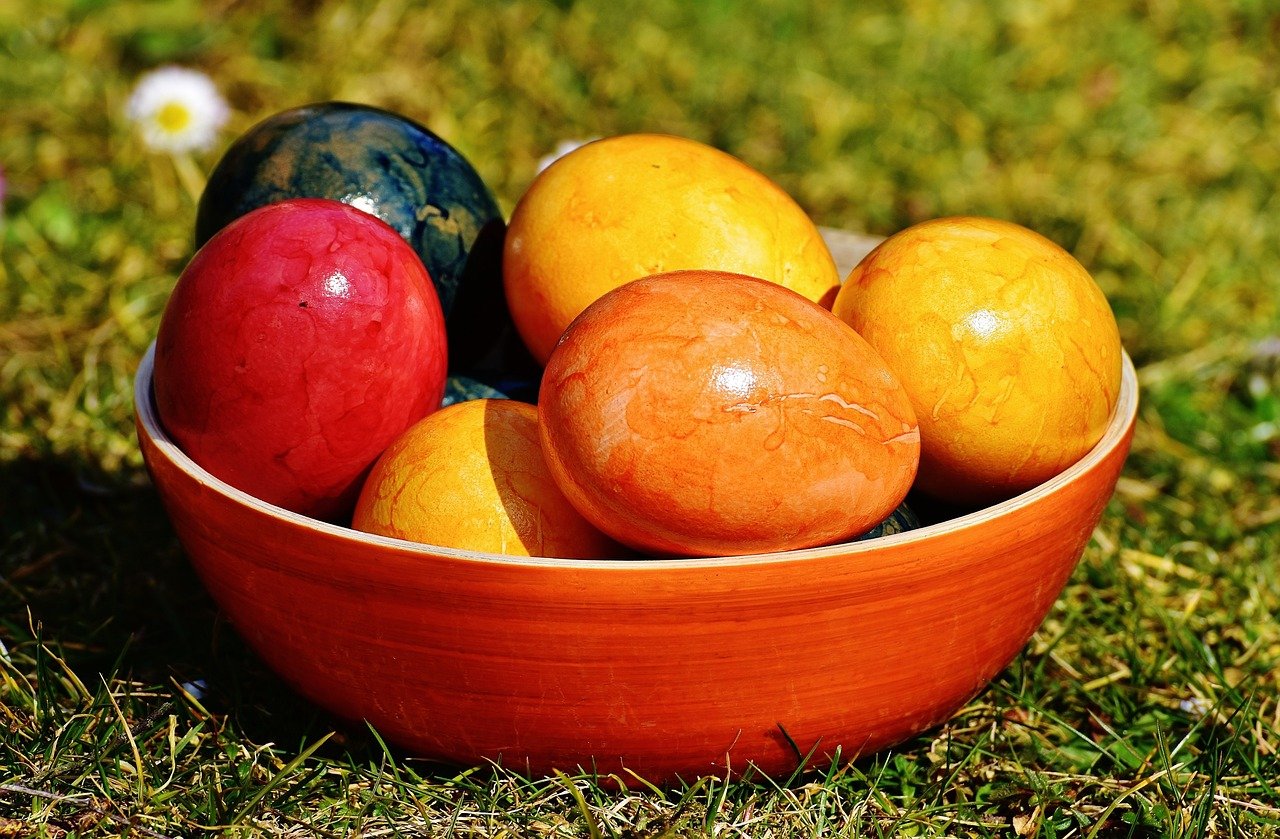
Coloring eggs is a simple spring tradition, but the best results start before the dye comes out. A smooth, fully cooked egg is easier to handle, easier to dry, and less likely to break while children or adults decorate it.
You do not need a special pot or a complicated trick. A saucepan, cold water, a timer, and a bowl of ice water are enough. The main goal is gentle, even cooking.
Large white eggs are popular for coloring because bright dyes show well on the shell. Brown eggs work too. They give the colors a warmer, deeper look.
Check each egg before it goes into the pan. Use clean eggs with shells that are not cracked. A small crack can grow as the egg heats.
Plan enough time for the eggs to cool before decorating. Warm shells can hold moisture, and wet shells do not take color as evenly as dry ones.
Once the eggs are cool and dry, the hard part is over. Then everyone can focus on color, patterns, stickers, or whatever makes the project fun.
Choose Eggs That Are Ready to Cook
Start with refrigerated eggs that have clean, sound shells. Very fresh eggs can be harder to peel, but that matters less when the shell will stay on for coloring. If you later peel and eat the eggs, slightly older refrigerated eggs may peel more easily.
Keep the eggs cold until you are ready to cook them. If you enjoy simple food projects at home, a seasonal recipe such as this strawberry crisp can turn egg-coloring day into a larger spring kitchen activity.
Put the Eggs in Cold Water
Place the eggs in a single layer in a saucepan. Add enough cold tap water to cover them by at least one inch. Do not crowd the pan so tightly that the eggs knock against one another.
Cover the pan and bring the water just to a boil. Then turn off the heat. Leave the covered pan on the burner and let large eggs stand in the hot water for about 15 minutes.
This method follows current USDA Food Safety and Inspection Service guidance for hard-cooked eggs. Medium eggs need about 12 minutes, while extra-large eggs need about 18 minutes.
Cool the Eggs Right Away
When the time is up, carefully move the eggs into a bowl of ice water. Let them cool for about 10 minutes. The cold water stops the cooking and makes the eggs comfortable to handle.
Do not peel eggs that you plan to color. Lift them from the water and pat each shell dry with a clean towel. Let any last surface moisture air-dry before you start decorating.
Set Up a Simple Coloring Station
Cover the work area before opening dye. Small cups work well for different colors. A basic egg dye kit keeps the project simple, while a set of egg dippers for coloring can help small hands lower eggs into cups with less mess.
Follow the dye maker’s directions. Some kits use water and vinegar. Others use a different mix. Leave an egg in the dye longer when you want a deeper shade, then set it on a rack or tray to dry.
Keep Decorated Eggs Safe to Eat
If the colored eggs will be eaten, treat them as food instead of room decorations. Refrigerate hard-cooked eggs within two hours after cooking. USDA says hard-cooked eggs can stay refrigerated for up to seven days.
Use food-safe coloring on eggs that may be eaten. Throw away any egg that develops a badly cracked shell during handling if you are unsure how long it has been warm or exposed.
Put the Shells to Use Later
After the eggs are eaten, plain crushed shells can have another use. Our guide to starting a worm farm explains how small amounts of crushed eggshell can go into a home vermicomposting system.
Eggs also pair well with fresh herbs. If you want another easy home project, the DIY herb garden guide covers simple herbs such as chives and parsley that are useful in everyday cooking.
And if egg coloring has you thinking about spring projects outdoors, the beginner home gardening guide is an easy place to start. A few small projects can make the season feel fresh without making the weekend feel like work.
A Quick Egg-Coloring Checklist
- Use clean, uncracked eggs.
- Cover the eggs with at least one inch of cold water.
- Bring the water just to a boil, then turn off the heat.
- Let large eggs stand covered for about 15 minutes.
- Cool them in ice water.
- Dry the shells before coloring.
- Use food-safe dye if the eggs will be eaten.
- Keep edible decorated eggs refrigerated.
That is all it takes. Cook gently, cool quickly, dry well, and then have fun with the color.