Are you thinking of planting winter wheat for the first time? If you live in a wheat-growing region, you may have noticed that your local garden center is already selling winter wheat seed. That’s because now is the perfect time to plant this beneficial crop. Winter wheat can help improve your soil quality and prevent erosion. Plus, it’s just so pretty to look at! Keep reading to learn everything you need to know about planting winter wheat for the first time.
Why You Should Plant Winter Wheat
If you’re on the fence about planting winter wheat, here are a few reasons why you should go for it:
- It enriches your soil. Winter wheat is a cover crop, which means that it puts nitrogen back into the soil as it grows. This enriches your soil and helps prepare it for the next growing season.
- It prevents erosion. Winter wheat also helps prevent erosion by covering bare patches of ground and holding the soil in place with its roots.
- It’s easy to grow. Winter wheat is one of the easiest crops to grow, even for beginners. As long as you have a sunny spot in your yard and some basic gardening supplies, you’re good to go!
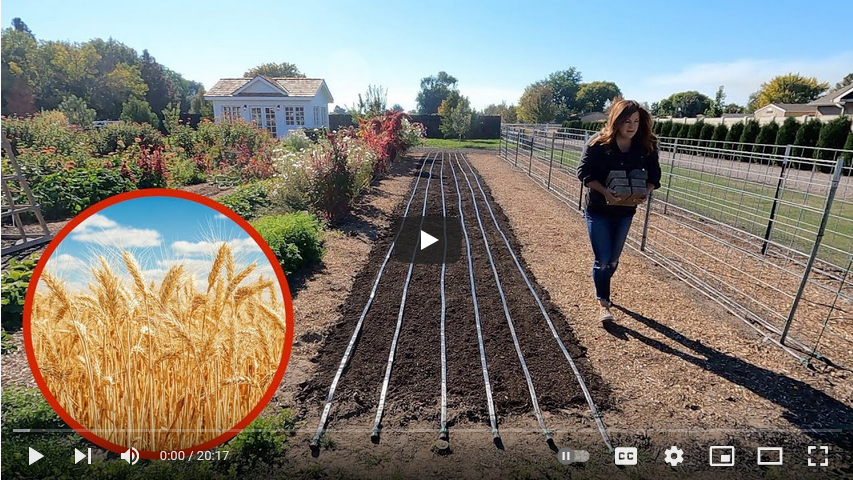
- It’s beautiful. One of the best things about winter wheat is how pretty it is. The stalks turn a golden color as they mature, and when they sway in the breeze, it’s simply stunning. Plus, watching the wheat fields get harvested every year is an experience that everyone should have at least once in their lifetime.
Planting Winter Wheat Tips
Now that you know all the reasons why you should plant winter wheat, here are a few tips to help you get started:
- Pick a sunny spot in your yard that gets at least six hours of sunlight per day.
- Prepare your soil by tilling or digging it up to a depth of six inches.
- Sow your seed at a rate of two pounds per 1,000 square feet of planted area.
- Fertilize your crop if necessary using a low-nitrogen fertilizer such as bone meal or composted manure.
- Water your plants regularly, especially during hot, dry weather.
- Be on the lookout for pests and diseases, such as aphids, rust, and Fusarium head blight.
- Harvest your crop when the grain is ripe, typically around late August or early September.
- Thresh your grain by beating it with a flail or by running it through a combine.
- Store your grain in a cool, dry place until you’re ready to use it.
- Enjoy your homegrown winter wheat!
Now that you know all about planting winter wheat, we hope you’ll give it a try in your own garden! This hardy crop is easy to grow and provides many benefits for both your garden and the environment. So why not give it a shot? You may be surprised at how much you enjoy watching your very own winter wheat crop mature and thrive!